.png)
The following section contains step-by-step overview of a typical workflow when using VidiEditor. These steps have been arranged in order that reflects a typical workflow. Each step offers links to those articles containing the information necessary for completing the steps.
Here are the different steps:
Creating your project
-
Open VidiEditor. Accessing VidiEditor [VE 21.4 UG]
-
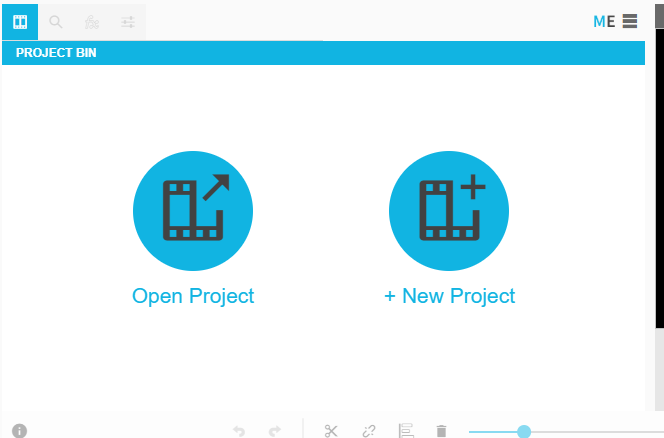
Select the “New Project” option after opening VidiEditor. Open or Create a Project [VE 21.4 UG]
-
Enter the title you wish to use for your project.
Searching for Material
At this point, you will have an empty project. In order to begin assembling a sequence, you first need to search for material.
-
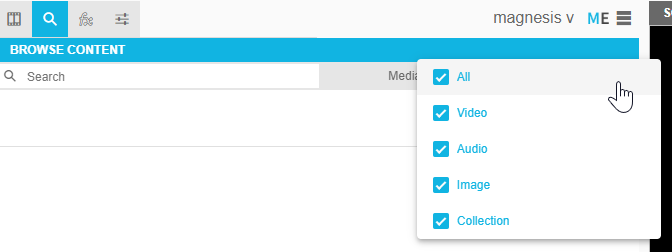
Switch over to the “Browse Content” tab in the media management area. Browse Content (Search) [VE 21.4 UG]
-
Enter the term you wish to use in order to identify relevant content. You can also filter your results by filtering by media type.
Evaluating Material in the Source Preview Player
You can always play an item’s content before deciding whether to add it to the timeline. This can be done by adding it to the Source Preview Player.
-
Select the item you wish to evaluate.
-
Open the context menu and click on the “Add to Source Preview”. Source Preview Player [INT VE XY.Z UG]
-
Evaluate the item’s content using the menu options. Source Preview Player Functions [VE 21.4 UG]
Deciding What to Add to the Timeline
If you find the item’s content to be relevant, you can choose to either add the entire item to the timeline or select different portions of the item to add to the timeline. Add Media into the Timeline [VE 21.4 UG]
A. If you wan to add the entire item, select the “Add to Timeline” option in the Source Preview Player menu - without using IN and OUT points.
B. If you want to add a specific portion of the item to the timeline, first set IN and OUT points before selecting the “Add to Timeline” option.
Remember that when adding media to the timeline, it will be added wherever the playhead is positioned in the timeline and Timeline Preview player. Depending on the selected timeline option the insertion of the media may have an effect on your current timeline.
Editing Material in the Timeline
You can start editing once you have an item in the timeline. Users can add and remove items from timeline, with these being stored in the project bin main tab. If one of these items is present in the timeline, and not just part of the project, it will be indicated in the project tab.
The full scope of functions that a user has at their disposal are available in the linked sections of this phase. Timeline Area [VE 21.4 UG]
The following page offers an example of how edits are performed on the timeline (video tutorial included).Insert Edit Using Keyboard Shortcuts [VE 21.4 UG]
Publishing Your Sequence
Your sequence is complete and you may want to publish it and make it accessible as new material in the repository.
-
Select the Publish option from the timeline menu.Publishing a Timeline Sequence [VE 21.4 UG]
-
Choose the settings you wish to publish the sequence with. Presets and destination storage can each be selected from their drop downs. Publishing a Timeline Sequence [VE 21.4 UG]