.png)
By now you will have worked on your managed editing project and created a sequence using media imported from EditMate's repository. When a sequence is rendered and created in an Adobe Premiere project that is also managed by EditMate, EditMate is able to recognize the sequence as well as any others created for in the same project. If a sequence is considered finished and no longer requires editing for a particular purpose, users may wish to make that sequence available to the whole work group by publishing it into EditMate's media repository. As a consequence, the published sequence will be considered as managed media and be available for searches in the work group.
Step 1: Publish a Sequence
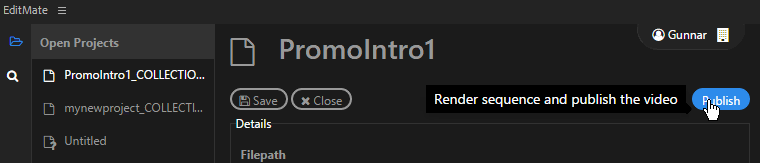
Once you, the editor, have completed rendering a sequence via Adobe Premiere, your project will contain at least one rendered sequence. In order to begin the publishing process, one must first open the Projects module along with the project containing the newly rendered sequence. Users will notice the "Publish Sequence" option on the top right corner of the Projects module. Clicking on the "Publish Sequence" button will initiate the process.
Step 2: Choosing a Sequence and Entering Metadata
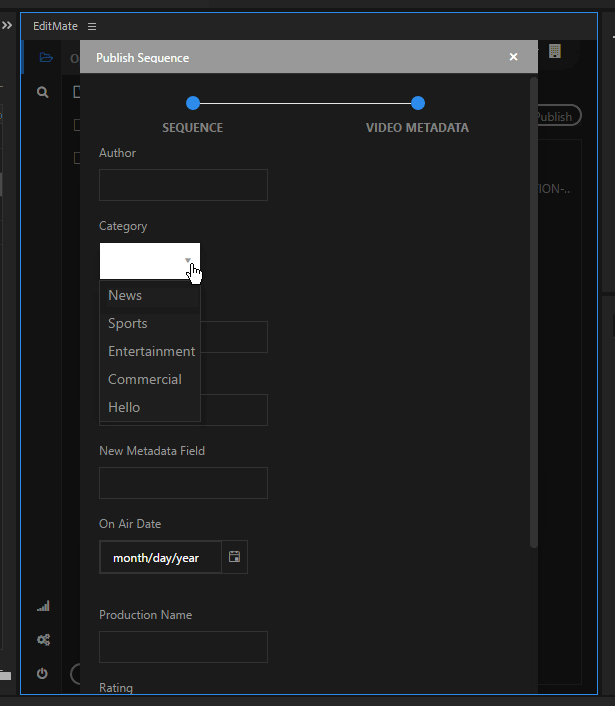
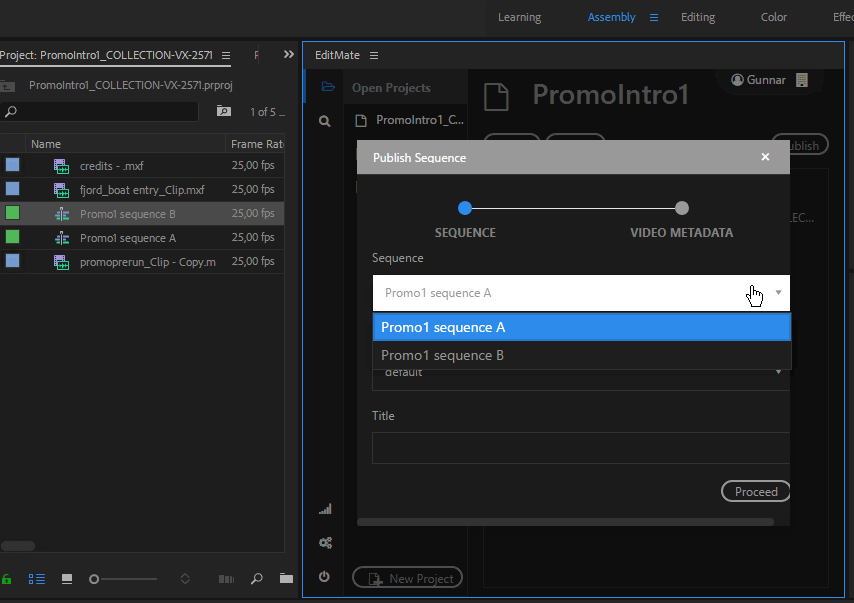
Now that you have decided to publish a sequence from your project, the next step is deciding which sequence you want to publish. All of a project's sequences will be recognized when initiating the publishing process. The intended sequence can then be selected from the dropdown option in the metadata window.
The metadata fields available for the Publish Sequence window are the same as those available for other media in the Search module.