Open EditMate Panel [EM 21.4 UG]
Step 1: Starting Adobe Premiere
Select and start Adobe Premiere from your start menu. 
Step 2: Create a New Project in Adobe Premiere
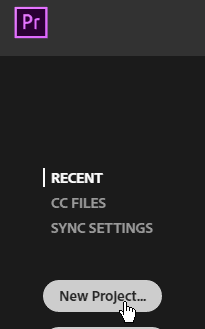
Once Adobe Premiere has been initialized, you will be asked to choose from one of your recent projects or even create a new project. For this walkthrough, please proceed by selecting the "New Project" option as shown below. Enter the desired project title and settings and confirm by clicking on "OK". Users are able to create new projects directly from EditMate as explained in the Create a New Project section.
Please note that recent projects that are also considered managed EditMate projects can be opened via the Recent Projects window.

Step 3: Selecting the EditMate Extension in Adobe Premiere
Once the project has been created, you will be redirected to the default Adobe Premiere workspace. Proceed by selecting the Window option on the main menu and select the "Extensions" option. If EditMate Panel has been installed, "EditMate" should appear as one of the options.

Step 4: EditMate Panel Login
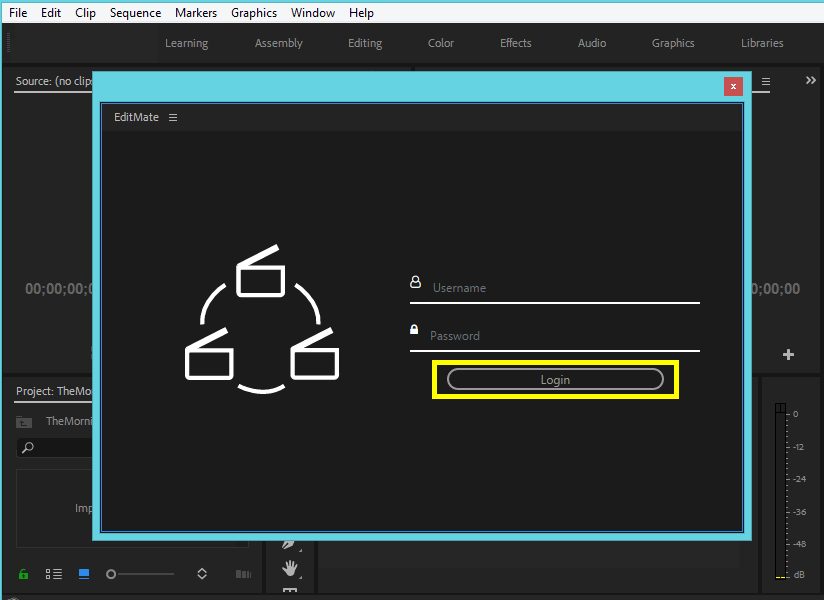
After selecting "EditMate" from the "Extensions" options, EditMate's login will appear. Users are then requested to enter their user name and password, both provided by the administrator. Once both user name and password have been entered, proceed by clicking on the "Login" button.

.png)