.png)
When publishing sequences using EditMate, users will be given the option to select a preset from a pool of preconfigured presets. These presets are important as the same project may require users to select a particular export preset for a particular context in which they wish to export the sequence. EditMate simplifies this process by allowing users to store, organize and manage export presets within EditMate and make these available centrally to all of the users in the work group.
Where Can I Find Export Presets?
When opening EditMate Panel in Adobe Premiere, select the Settings module by clicking on the "Cogs" icon. In addition to providing individual users with the basic user setting choices, a "Render Preset Files" tab is also available. Clicking on the tab label will display all of the currently stored export presets for that work group.
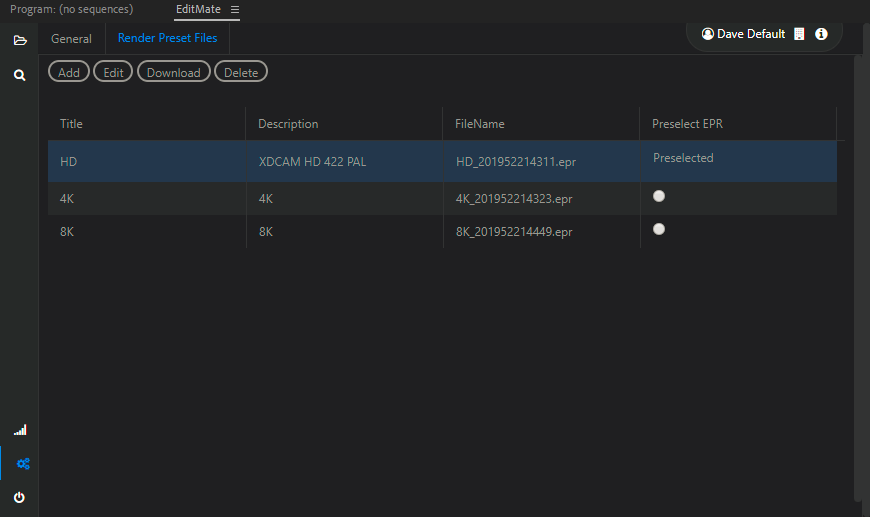
The table displaying all the presets shows the title of the preset, as well as the file name containing a time stamp. The suffix time stamp on file name represents the date in which the export preset was made from Adobe Media Encoder. Choosing a different file for the entry in the Render Preset Files will not change the entry (title and description), but will change the underlying file that is used to determine which export settings are used.
Under the Preselect EPR column, users can toggle whether to assign a particular preset as the default preset. There can only be one assigned default preset at a time. Selecting a new preset as the default will automatically deselect the previous preset.