.png)
Now that you have finished creating your project, you will require media with which to edit and create a sequence for publishing. There are two sources for acquiring media. Users can either search for managed media in EditMate or ingest local, unmanaged media into EditMate's media repository. This section covers the latter.
Step 1: Importing Local Media to your Adobe Premiere Project
In order to add local media to an EditMate Project, one must first import the media into an Adobe Premiere project managed by EditMate. Open your newly created project via EditMate to ensure that it is managed. A managed project is indicated by the "Page" icon next to the project title being displayed without a question mark.

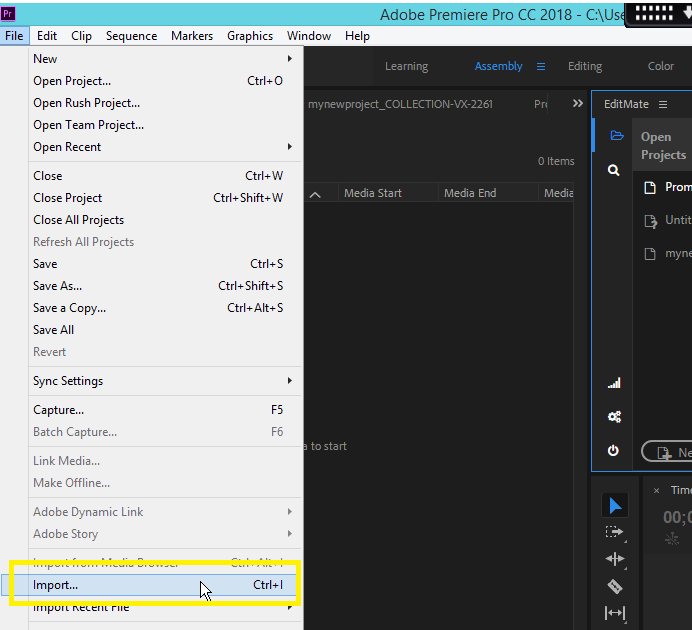
Once the above has been verified, select the "File" option in Adobe Premiere's main menu bar and select "Import...". Once the media asset intended for import has been selected and the import process been completed, return to EditMate Panel's Projects module.
Step 2: Selecting Media for Ingest
Having selected the Projects module in EditMate Panel, EditMate will display the project's details. Additionally, EditMate is able to recognize whether the project's assets are managed in EditMate's media repository. If a project contains unmanaged media, the Projects module will indicate this as shown below.
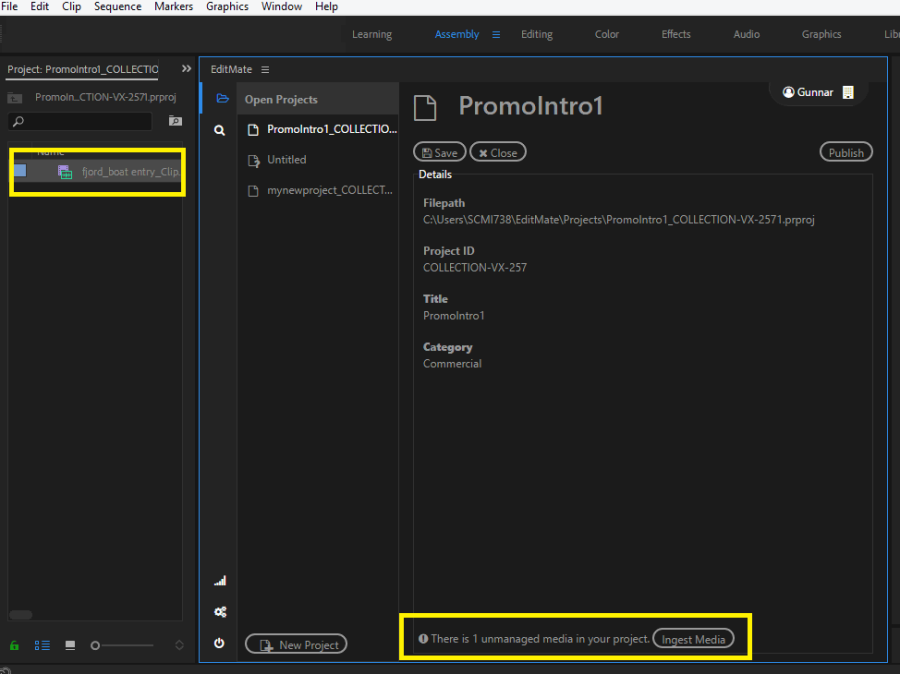
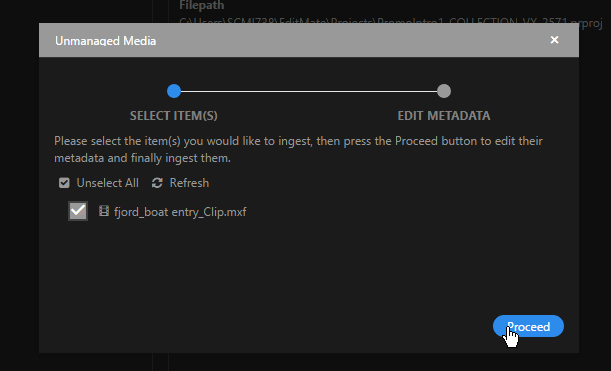
As shown above, EditMate informs the user that the project currently contains "1 unmanaged media" asset. Users can then choose to continue to ingest the asset into EditMate's media repository. By clicking on the "Ingest Media" button, you can proceed to a dialog window dedicated to the selection of media assets for ingest. Users are able to tick the box next to the media assets they wish to ingest as they may not want to introduce all of the media into EditMate's media repository. Once you have selected which assets you wish to ingest, continue by selecting and clicking on the "Proceed" button.
Step 3: Entering Metadata
After choosing their media for the ingest, users are able to edit each media's metadata in a dedicated window before initiating the actual ingest. If metadata is entered for the media, this will be reflected in EditMate's media repository as its initial metadata. Users are able to edit media metadata at any time via the Search module. It is important to note that the entered metadata values are considered searchable and can be used to search for the media via the Search module.
-
For EditMate for Enterprise Users: Please note that he metadata fields are configurable via ConfigPortal for those users who have been granted administrator rights.
Users are able to select individual media for metadata editing or enter metadata values for multiple media at once. This is particularly convenient for media that share common metadata themes. It is important to note that depending on the quantity of media intended for ingest, not all of the media may be displayed within a single window at once. If this is the case, remember to use the "Page" function at the bottom of the dialog window.
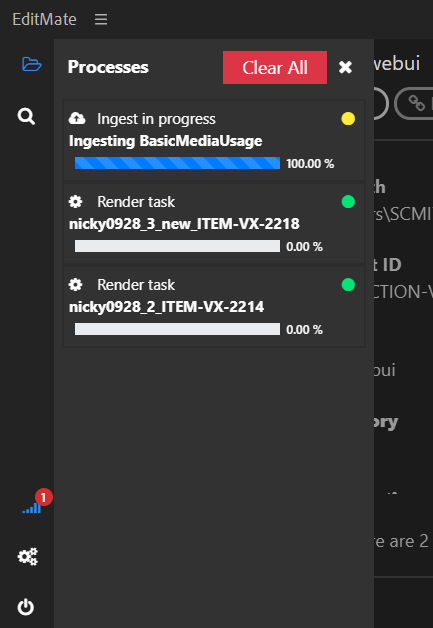
After all the metadata values have been entered or specified (via dropdown), continue by selecting and clicking on the "Start Ingest" button at which point the Processes tab will automatically display the ingest's current completion status.
Once the ingest process has been completed all the media assets are then considered managed in EditMate's media repository. Apart from being assigned to the current project, the media is now searchable via the metadata values and can be imported into other EditMate projects as well.