.png)
Although export presets can be added to and removed from EditMate, these are not able to be created or modified in EditMate itself. Users are able to create or modify export presets when choosing the "Export" option in Adobe Premiere (or when managing exports in Adobe Media Encoder).
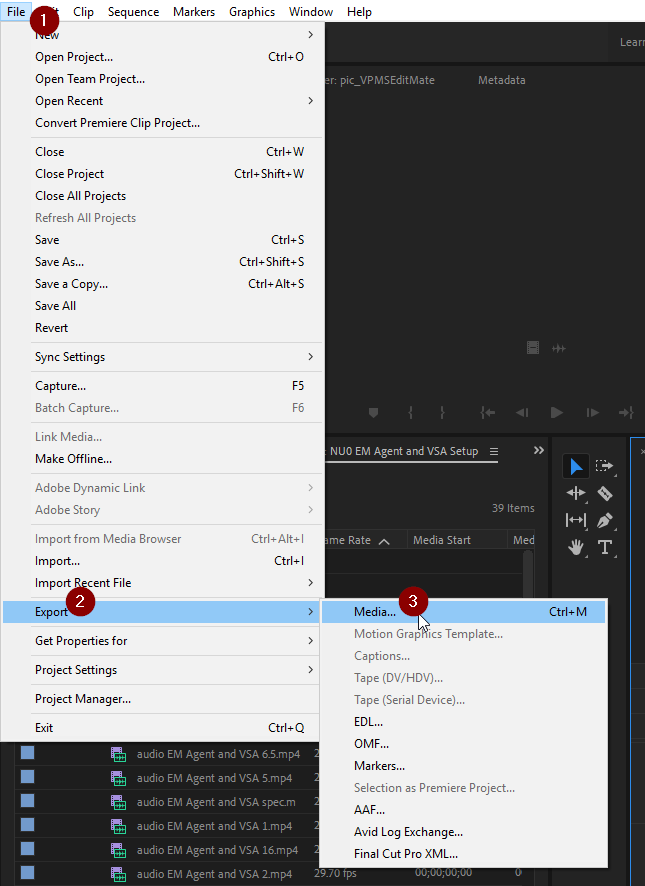
Once a sequence is selected in Adobe Premiere, select "File" from the main menu and choose the "Export" and "Media..." options from the menu. Doing so will prompt the "Export Settings" window in Adobe Premiere in which users can either select an existing export preset or create a new custom preset. Once all of the desired setting options have been selected, users can click on the "Save Preset" button to have Adobe Premiere store the custom export preset locally.
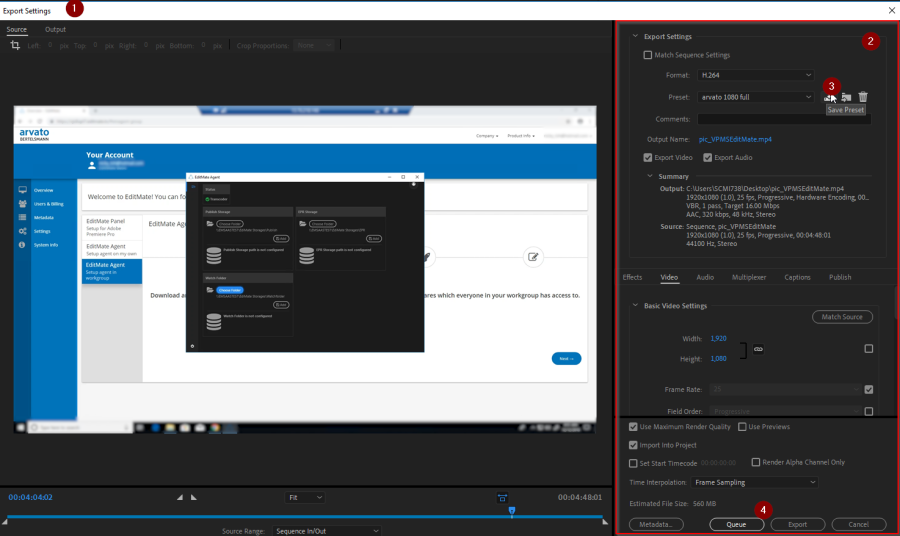
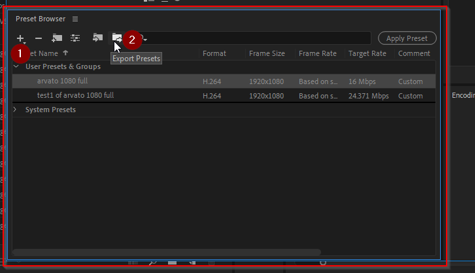
In order to export a saved preset so that it can later be added into EditMate, this must be done in via AME. Users can at any time open AME from the Export Settings window by clicking on the "Queue" button. From the AME, users are able to select an export settings as well as export them. After selecting the export preset you wish to add to EditMate select and click on the "Export Preset" option. Users can then choose where to save a copy of their preset locally. User would do well to remember where these presets are stored, as this will be the location from which presets are added into EditMate.