.png)
Step 1: Selecting the "New Project" Option in EditMate
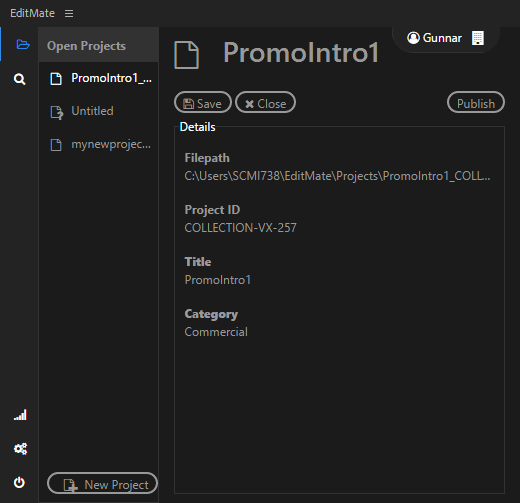
Having logged into EditMate, users will have the Projects module opened as the default module. With the Projects module, users are granted an overview of a project's details. As shown in the image below the metadata fields "Project ID", "Title", "category", and "rating" are visible for the project. Additionally, users are able to perform different actions as described under the Projects Module and Actions section.
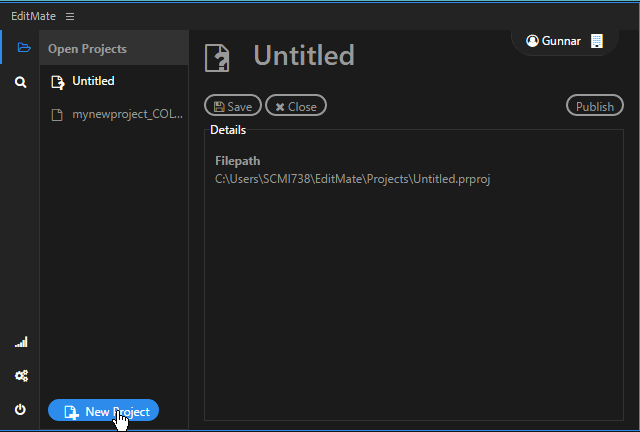
Although you have selected the "New Project" option when starting Adobe Premiere, you can also create a new project directly from EditMate's Projects module by clicking on the "New Project" button.
Step 2: Entering a Title and Selecting the Project Template in EditMate
Having selected the "New Project" option from the Projects module, a dialog window dedicated to project creation will be prompted. At this point, users are able to select a project template from those available. An explanation on project templates and how to create these in EditMate is available under the Object Types section.
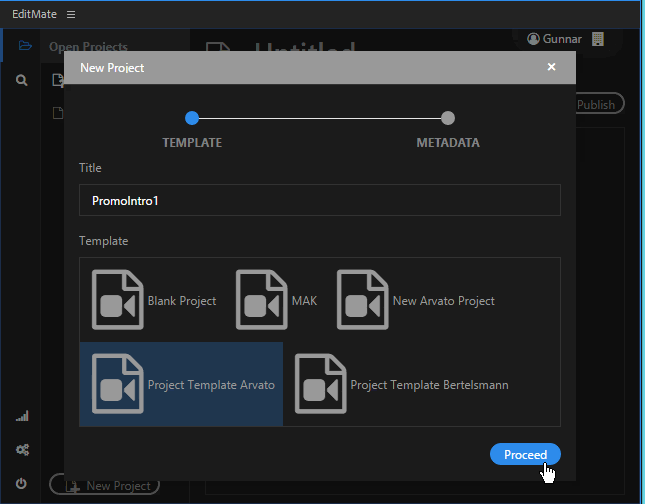
Having entered the intended project title and selected a project template, clicking on the "Proceed" button will allow you to continue to the metadata input window.
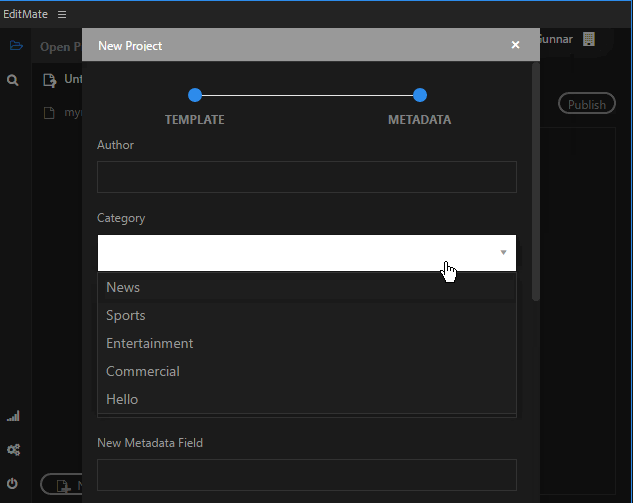
Step 3: Entering Metadata
After selecting and clicking on the "Proceed" button, EditMate will prompt a window in which users are able to enter metadata for the available fields. This metadata not only serves to provide additional information on the project, but also offers users additional match sources when using to the Search module to find projects. Entering project metadata is not limited to the project creation process. Users can at any other point in time edit a project's metadata via the Search module.
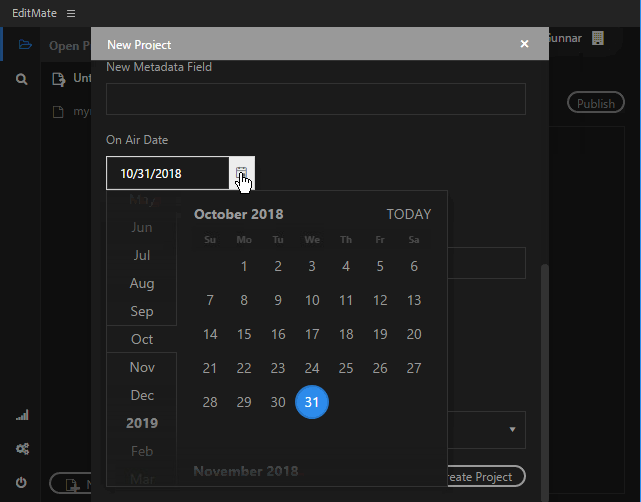
Please note that users can scroll down the New Project window.
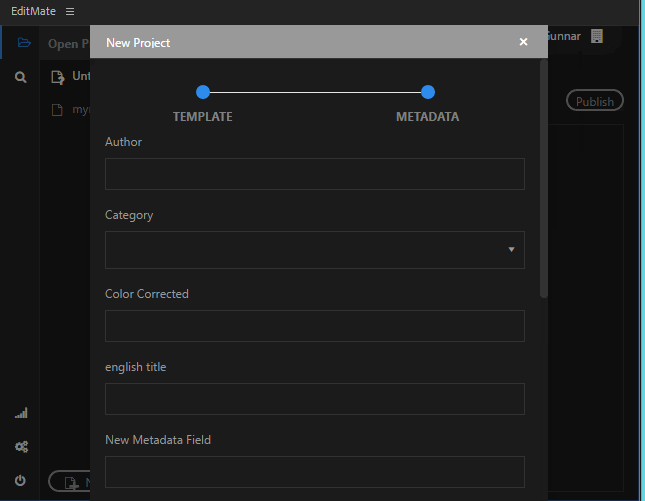
Clicking on "Category" will expand the available category options via d dropdown. These category options are configurable via EditMate Portal metadata management options.
Additionally, projects may be assigned specific air dates – which are searchable via the Search module. When creating a project or editing its metadata, users are able to specify the air date via by selecting the calendar metadata option.
Once the intended values have been entered or specified (if a dropdown menu applies), complete the project creation process by selecting and clicking on the "Create Project" button. Your project is now saved in EditMate's media repository and considered managed. You and any other EditMate users in the same work group are now able to both save and open this and any other managed project from any editing station.
Please note the "Untitled" project's icon displays a question mark. This indicates the project is unmanaged. Your newly created "PromoIntro1" project however, displays no question mark, indicating it is considered managed.